CGMA Course Demo
In the summer of 2021 I was approached by CGMA to create a course on marvelous designer cloth creation for games. I jumped at the chance having taken CGMA courses in the past and a latent passion for teaching and helping students develop their craft.
After a few discussions with the team we decided the course would center around developing a Bloodborne concept from reference gathering to final renders.

Pitch deck for the course detailing the proposed course content. I wanted to get the students right into using the software by making a fairly simple garment that would use most of the features of the program. Puffer jackets are great for this—you can experiment with fit, pressure to simulate the filling, elastic and fold angles to create the paneling, and layer cloning to get realistic looking folds. After some software familiarity the students can pick from a range of concepts or bring their own, and create garments that match their concepts.


Initial reference gathering and concept of the Yharnam armor set. I wanted to stick close to the painted concept rather than referencing the final model used in Bloodborne and incorporate reference from the movie that inspired the game “Brotherhood of the Wolf”

Scene from “Brotherhood of the Wolf” (2001)
Marvelous Designer progress on the costume: I like to split my garments into separate files unless they need to influence each other. You can see I have the pants, undershirt (unused) and gaiters in the same file so that they can influence each other—the gators squeeze on the knees of the pants, and the undershirt tucks into the pants. Even though they’re in the same file I simulate them separately by freezing and unfreezing panels.
The collar was the trickiest part—finding the right fabric that wouldn’t’ crumple and fall down but still gave nice folds. Leather was too heavy even after modifying the simulation density and gravity, but Trim Fusible Rigid held nicely and still created some nice folds.


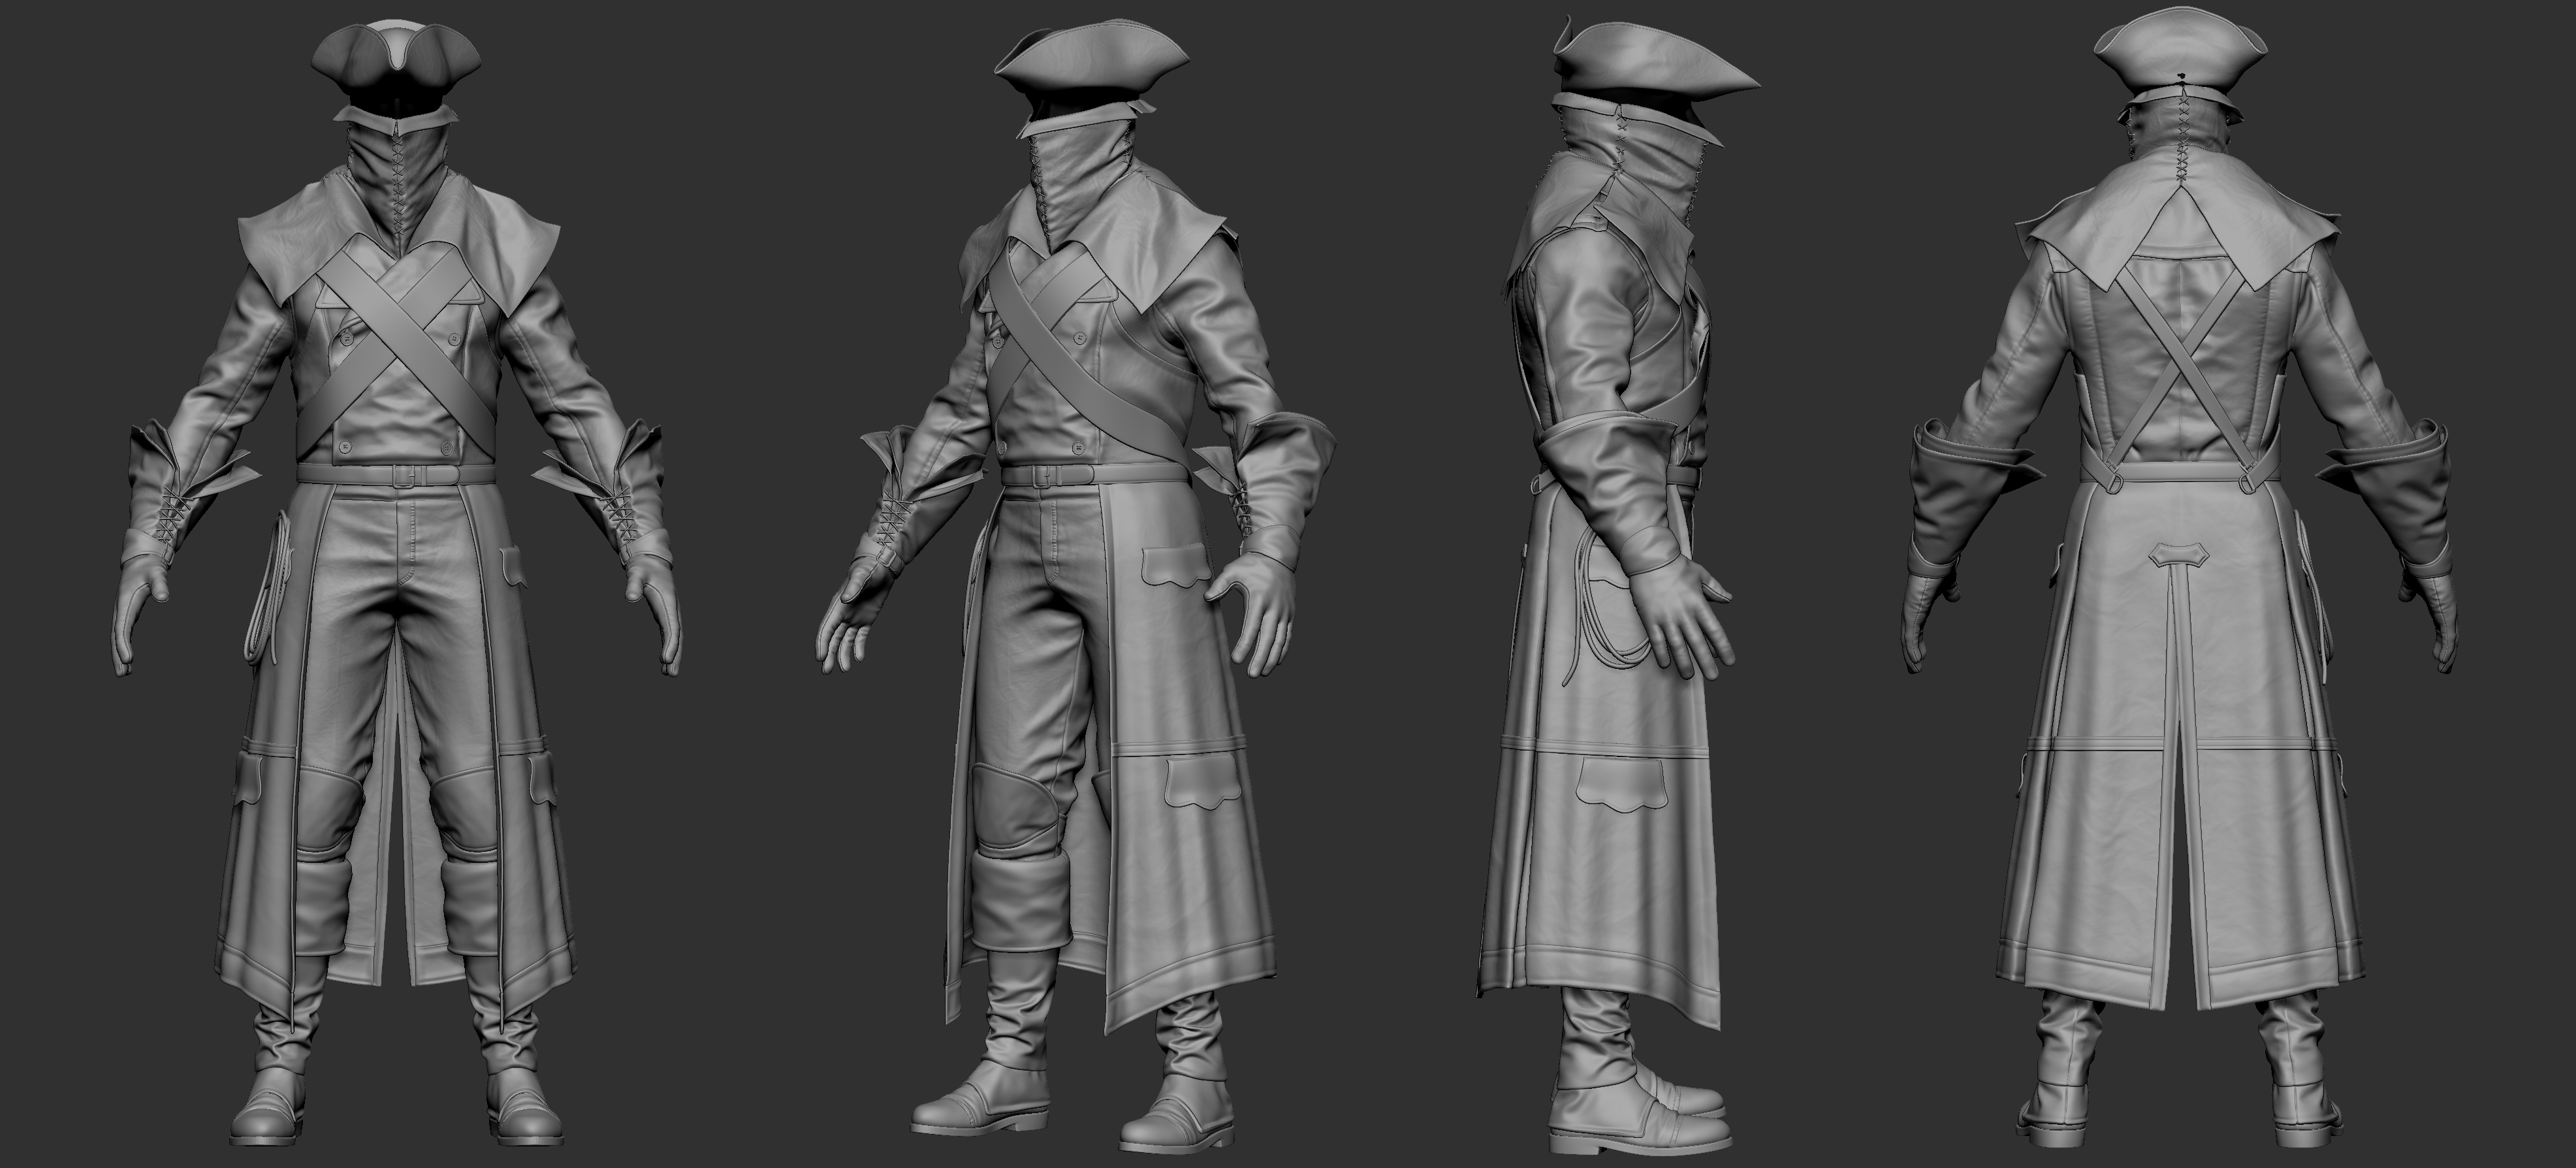
The course then covers exporting garments to zbrush and creating nice, clean quad topology for sculpting. This is the hunter set after a few hours of sculpting and adjusting silhouette and fit. While I prefer to get as close as possible to the final fit in Marvelous, it’s important to remember that Marvelous is just another tool in our toolbox—it doesn’t require us to create perfect finished garments. We can supplement it with more hands-on tools like Zbrush.
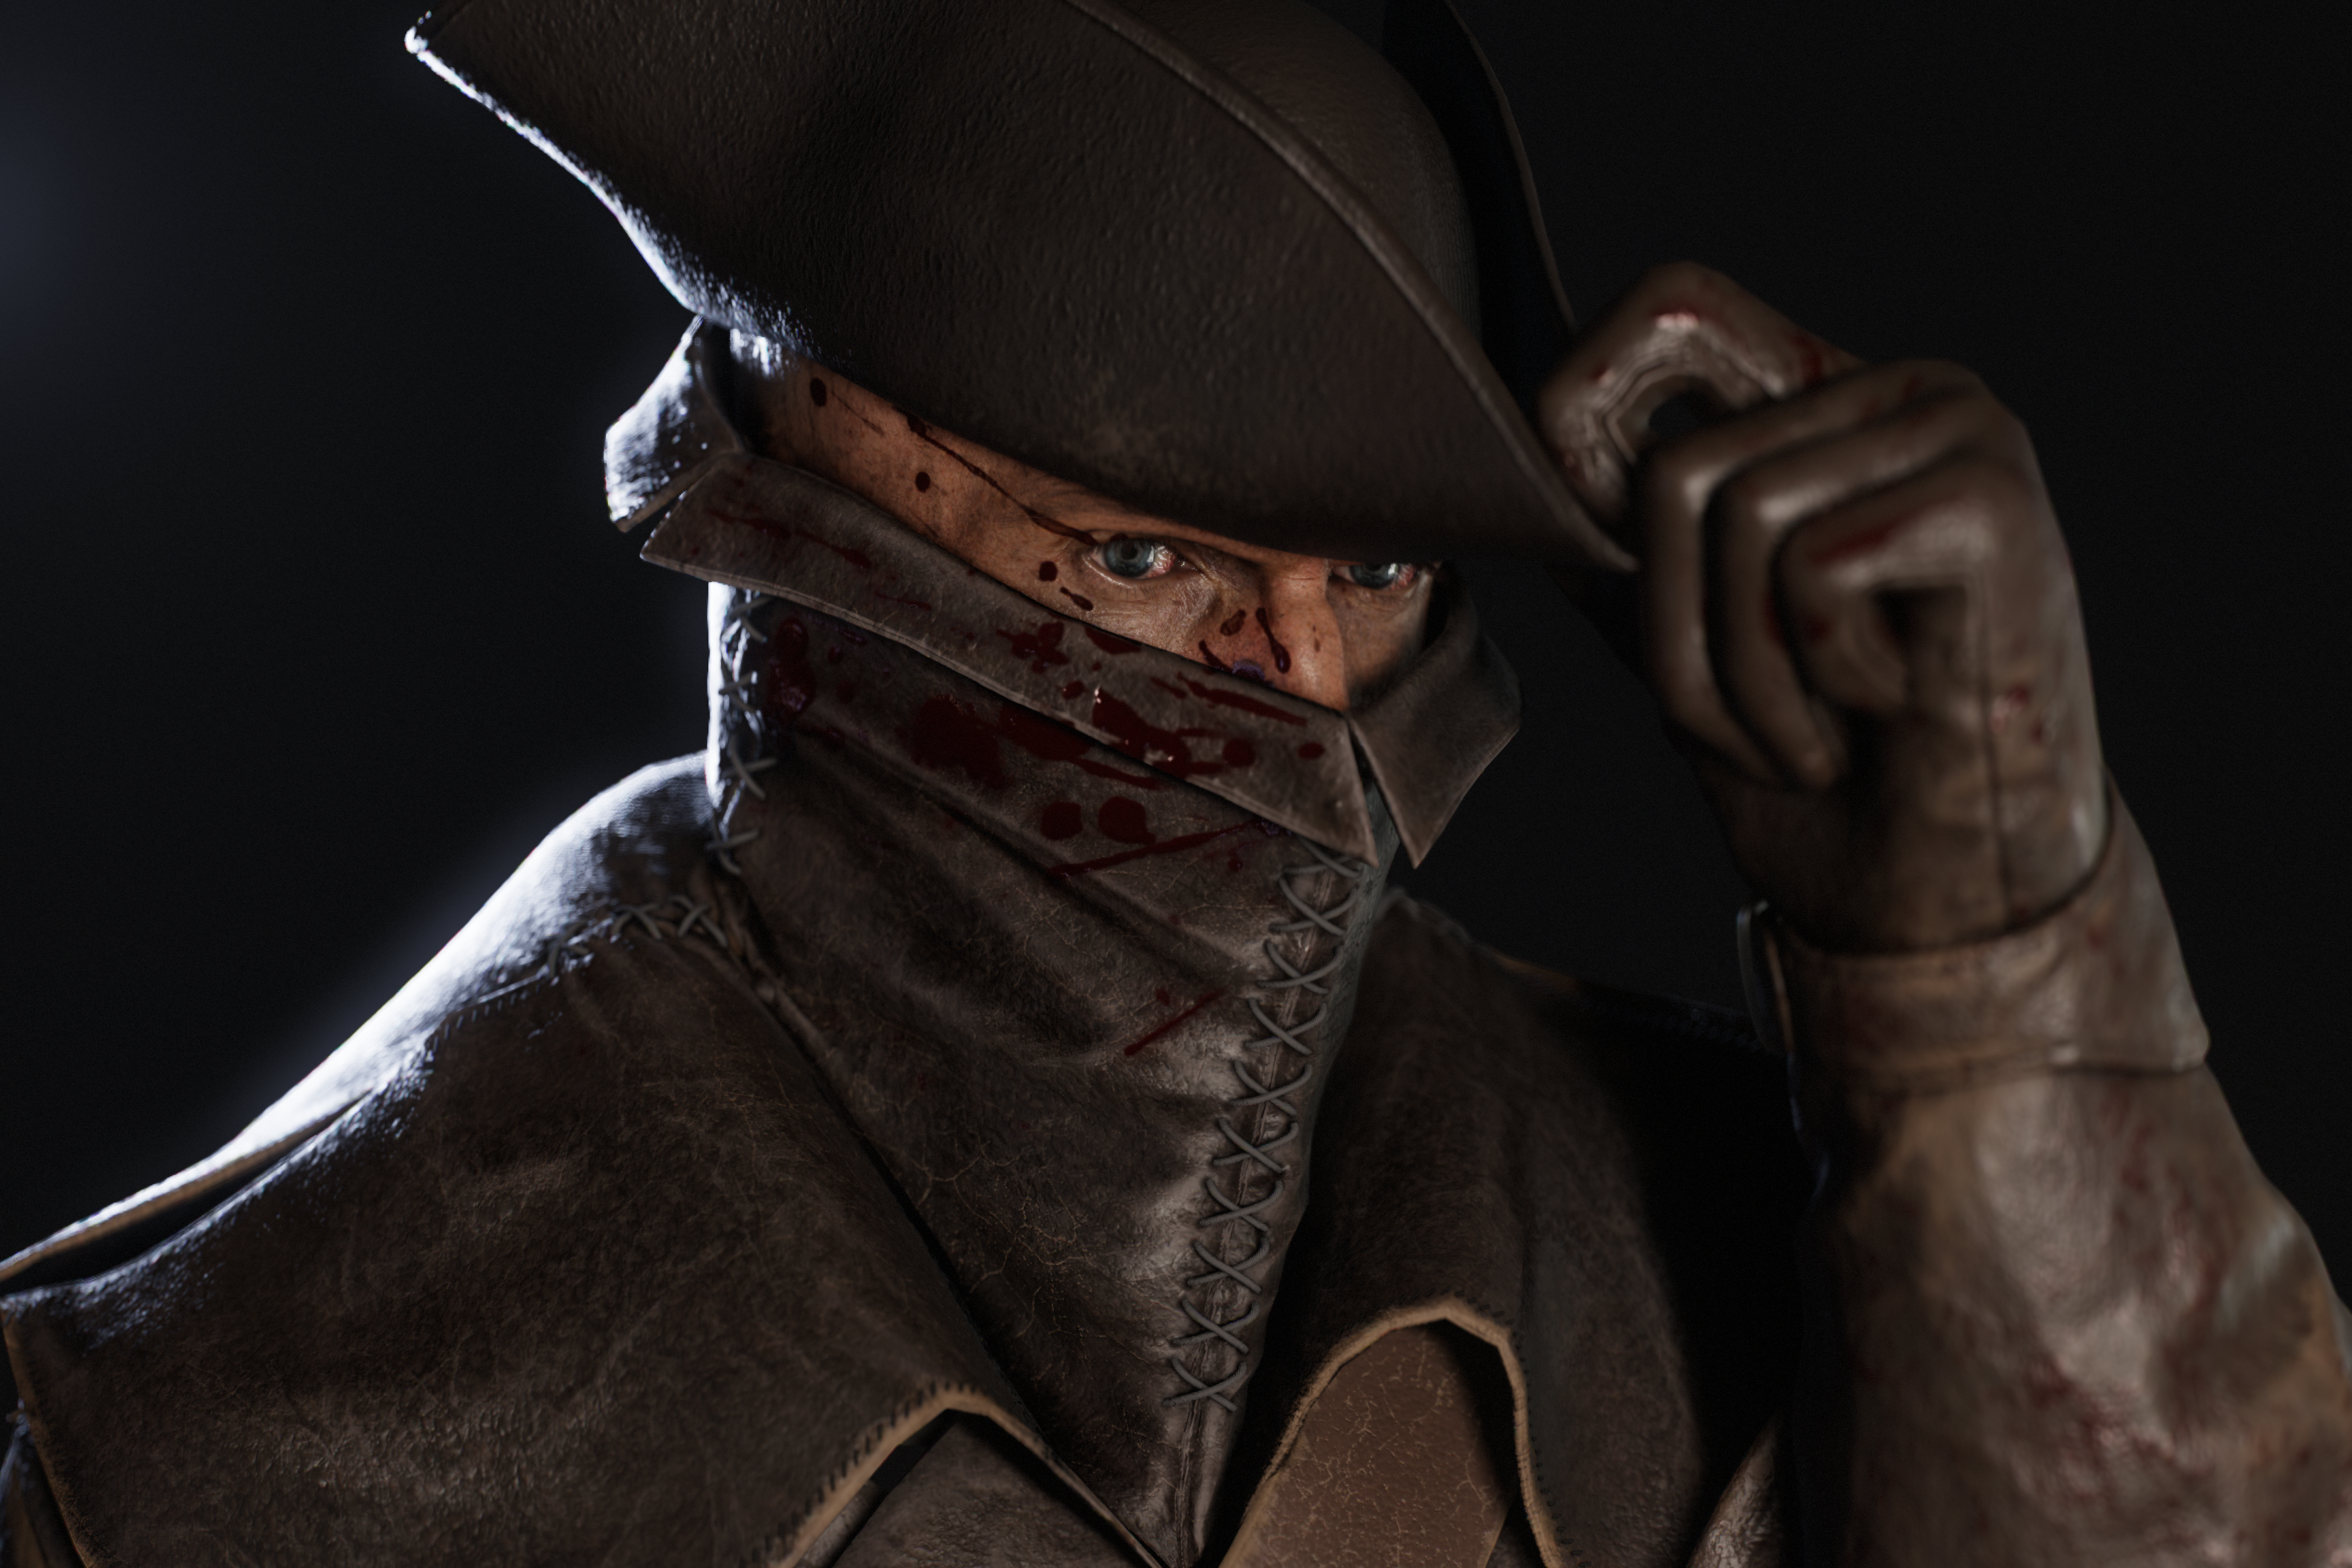
Work in progress renders after some initial texturing. I wanted to pose the Hunter simply, enough to remove the rigidity of t-pose without over-extending the model into something like an action pose. I also wanted to demo how to use allembic caches to pose your low poly garment on your avatar to get nicely posed cloth “for free” aka without having to spend hours skinning it to a rig. Here you can see the final low poly geo simulated in Marvelous on the avatar after animating into pose:

The head started as a scan from 3d scan store that I modified and did some retexturing of. Most of the high frequency detail is from the scan info—gorgeous work on the part of 3d scan store! Click images to see full resolution.